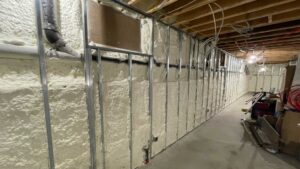
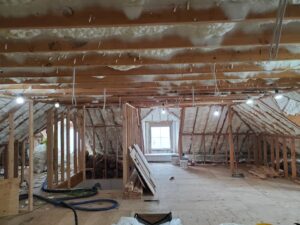
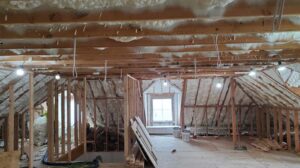
Spray foam insulation is popular for its energy efficiency and durability, but understanding the spray foam insulation installation process can help you make an informed decision about whether it’s the right choice for your space.
Whether you’re insulating crawl spaces to guard against moisture and cold, walls and ceilings to enhance interior comfort, or even under decks and porches for year-round outdoor usability, spray foam insulation offers versatile solutions for various areas of your home.
Here’s a step-by-step look at how professionals approach this process to get the best results.
Step 1: Preparing the Space for Insulation
The first step in the installation process is preparing the area. This involves clearing the space, moving furniture or other stored items, and ensuring the surfaces are free of dust or grease, which can interfere with the foam’s ability to bond.
Ventilation is also key for allowing safe air circulation, and keeping the workspace safe from fumes during application.
Step 2: Selecting the Right Spray Foam Type
Once the area is ready, the next step is choosing the right spray foam type. Installers generally select between open-cell and closed-cell spray foam, each suited for different needs.
Open-cell foam is softer and expands more, making it ideal for filling larger spaces, while closed-cell foam is denser and more rigid, creating a solid barrier in smaller, confined areas.
Step 3: Applying Protective Gear and Setting Up Equipment
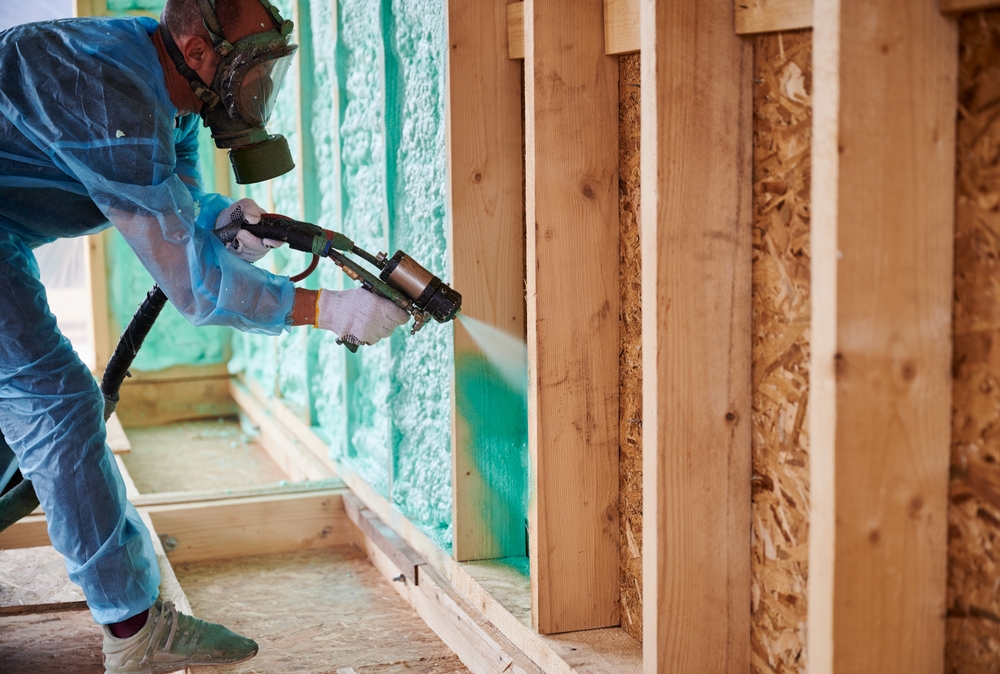
Safety is a major consideration in this process, and professionals use full-body protective gear, including gloves and respirators, to avoid exposure to chemicals.
They also carefully set up their equipment, which is calibrated for even and consistent application. This ensures that every inch of the area is covered without gaps, giving you insulation that’s efficient and safe.
Step 4: Spraying the Foam – Initial Layer Application
With safety measures and equipment in place, professionals begin by applying an initial layer of spray foam, known as the “flash coat.” This thin layer creates a secure base, allowing the foam to adhere and expand properly.
Installers work meticulously to ensure this layer is even, covering all targeted surfaces for a solid initial bond. At this stage, the foam starts to expand and seal, showing the immediate benefits of the spray foam insulation installation process.
Step 5: Building Up Layers for Maximum Insulation
After the flash coat is applied, adding layers to achieve the ideal thickness and insulation is next. Each layer builds upon the last, filling every crevice and ensuring full coverage.
With every additional layer, the foam provides better thermal resistance, soundproofing, and structural stability.
Step 6: Final Curing and Trimming
Once the insulation layers are applied, the foam needs time to cure. Curing allows the foam to harden and lock in its insulating properties, typically taking a few hours to complete.
Once it’s cured, technicians trim away any excess to ensure a smooth, finished look that fits perfectly within the space. This trimming step provides a clean, polished appearance and reinforces the insulation’s durability.
Looking for High-Quality Spray Foam Insulation?
Want to upgrade your insulation? Contact Spray Foam Insulation USA now and get a safe, high-quality spray foam insulation service that maximizes comfort and energy efficiency in your space.

